How I setup parental controls on Linux
Because our children must be educated on screens these days

Problem statement
My 13 year old daughter doesn’t have a phone. She also wouldn’t have a computer, if it wasn’t for school. You see, she attends a Google school (i.e. a state secondary school in England) and therefore must sign into Google Classroom and other EdTech platforms every single day for homework and class-related communications (messages from teachers about sports, clubs, matches etc). She also gets sent to places like YouTube routinely as part of school-set homework, since she was 11.
Therefore, she needs to be online almost every day. So my job becomes: protect her.
For the last ~2 years my approach was to give her a Windows laptop with a limited user account and the Qustodio parental control software (£65/year) installed, which limited her screen time (45min/day) and blocked access to things I didn’t want her to use (social media, AI tools to bypass homework etc). But her laptop became so slow it was barely usable. And I’ve wanted to minimise BigTech for a while. It was time for a change.
Goals
Give her a laptop that:
Avoids BigTech products/services
Is easy to use and responsive
Restricts daily screen time
Blocks access to harmful stuff like social media, AI etc.
Step #1: Get the right hardware
I acquired a 10-year old Dell laptop with a decent amount of CPU (quad-core i7) and RAM (16GB). You don’t need to go so high spec, more modest hardware will also do.
Step #2: Install a free operating system
I have no interest in the AI-laden, resource-hungry, privacy-invading, ad-serving, malware-prone Windows operating system.
Install the latest Ubuntu LTS edition which will be supported for 5 years - for extra peace of mind.
This gives us an easy to use system, which is not BigTech, respects our privacy, is low maintenance, does not prey on its users and is very zippy, even on old hardware.
I setup Ubuntu with a main “administrator” account for me, and a regular/restricted user account for my daughter.
Step #3: Limit screen time
Sadly, Qustodio does not support Linux. So we need another solution.
Eduards Bezverhijs’ Timekpr-nExT is easy to install on Ubuntu systems.
It gives us an easy to use GUI application which, a few clicks later, had restricted my daughter’s account to only 45 minutes of screen time per day, after which she’s logged out.
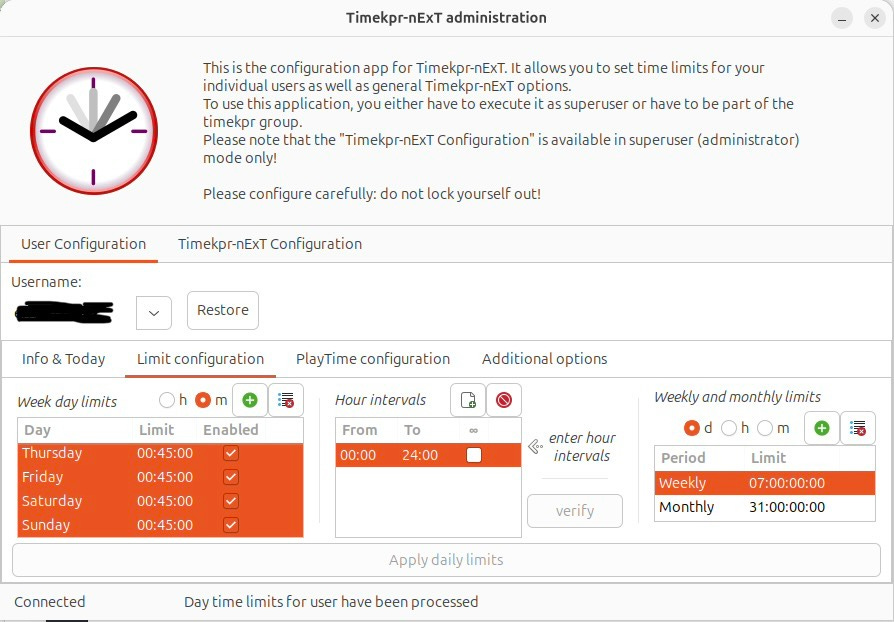
There is a timer on top of the screen showing her exactly how much time she has left, and notifications when she’s about to run out.
Step #4: Block access to harmful websites
This is the tricky bit, because there is no app/service I found that you can just pay to do this for you with a nice GUI installer. So we’ll need to get creative. Are you ready?
Step #4.1: Configure laptop to use a DNS filtering service
I created a free account on NextDNS. This allowed me to configure my account at https://my.nextdns.io to create a “kids” profile.
Following the instructions on the NextDNS account page, I went to my daughter’s homework laptop, edited the file /etc/systemd/resolved.conf and added the following lines:
[Resolve]
DNS=45.90.28.0#daughter-ubuntu-xxxxxx.dns.nextdns.io
DNS=2a07:a8c0::#daughter-ubuntu-xxxxxx.dns.nextdns.io
DNS=45.90.30.0#daughter-ubuntu-xxxxxx.dns.nextdns.io
DNS=2a07:a8c1::#daughter-ubuntu-xxxxxx.dns.nextdns.io
DNSOverTLS=yes
The “daughter-ubuntu” part is just a name you can set to distinguish the activity of this device (laptop) in the NextDNS logs page. This is useful if you’re going to use this on multiple devices (e.g. multiple children).
The “xxxxxx” part is your NextDNS account’s ID, it will be in the setup page you see as soon as you login to your NextDNS account.
After you’ve saved the file, restart the laptop to make the settings take effect.
Then, visit your NextDNS account page from the laptop - it will auto-detect whether you have correctly configured NextDNS on this device. You’re looking for the reassuring green dot:
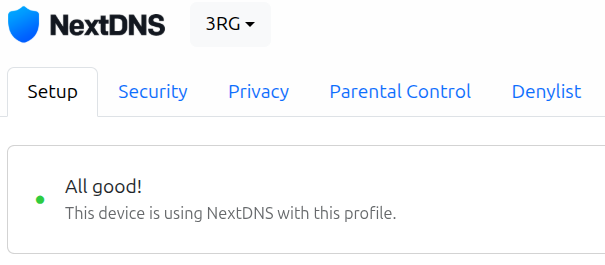
If you made it this far, congratulations! The hardest part is over.
Step #4.2: Enable DNS filtering parental controls
The idea here is that when my daughter’s laptop requests a website related to something I don’t want her to access (e.g. social networks), NextDNS will deny the request.
In my NextDNS account’s “Parental Control” tab, I activated the categories and services I wanted blocked:
Notice that there is no “AI” category (boo), but ChatGPT gets an honourable mention as a service that can be blocked.
Step #4.3: Block AI
So far, so good. Pat yourself in the back. This setup is already leaps and bounds safer than a regular laptop/phone.
But what about AI? Do we want our kids to have a slopducation? Nope! Sadly, NextDNS does not include an “AI” category, as dear Qustodio did, so we can’t just click a button to block the “AI” category. We need to get creative.
Get the list of AI domains
Download this list of AI related domains: https://codeberg.org/lumiworx/HPT-AI-Blocklist/raw/branch/main/HPT-Full-AI-List
Edit it with Excel or whatever is easiest for you to keep only the domains. The result should look like this:
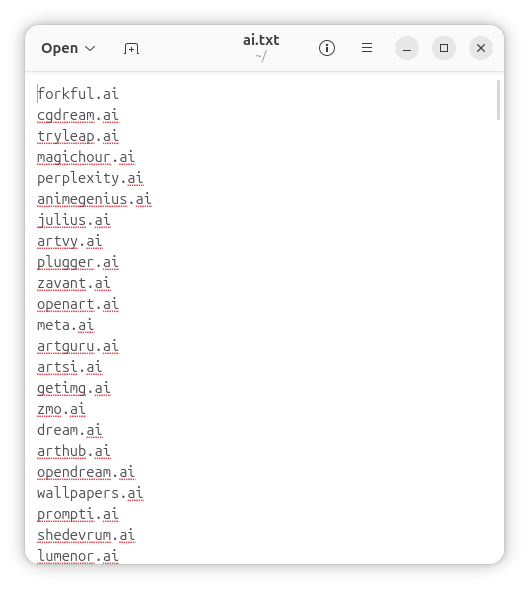
Great. We now have our blocklist.
Load the blocklist to NextDNS
In the “Denylist” tab of your NextDNS account you will notice that it invites you to “Add a domain…”
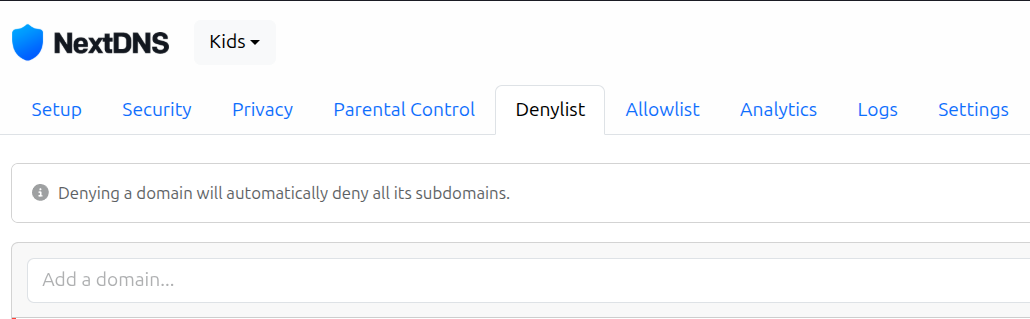
But we don’t want to add one. We want to add 1,000 domains and we don’t have all day. What to do?
From your child’s Ubuntu system, open the Firefox browser and install this browser add-on: https://addons.mozilla.org/en-GB/firefox/addon/nx-enhanced/ .
Now when you visit the NextDNS Denylist tab, you should see:
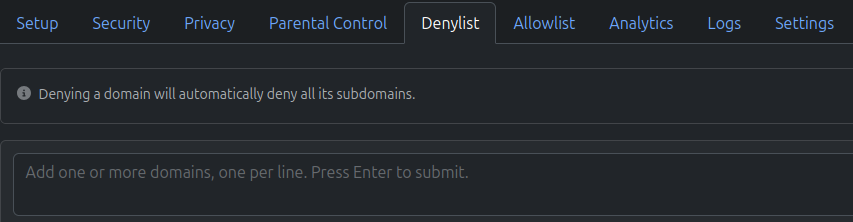
“Add one or more domains, one per line. Press Enter to submit.”
We can now open our blocklist text file, copy/paste, say, 300 domains at a time, give the script a few minutes to submit them all, and marvel as our NextDNS Denylist gets easily populated. It should look like this:
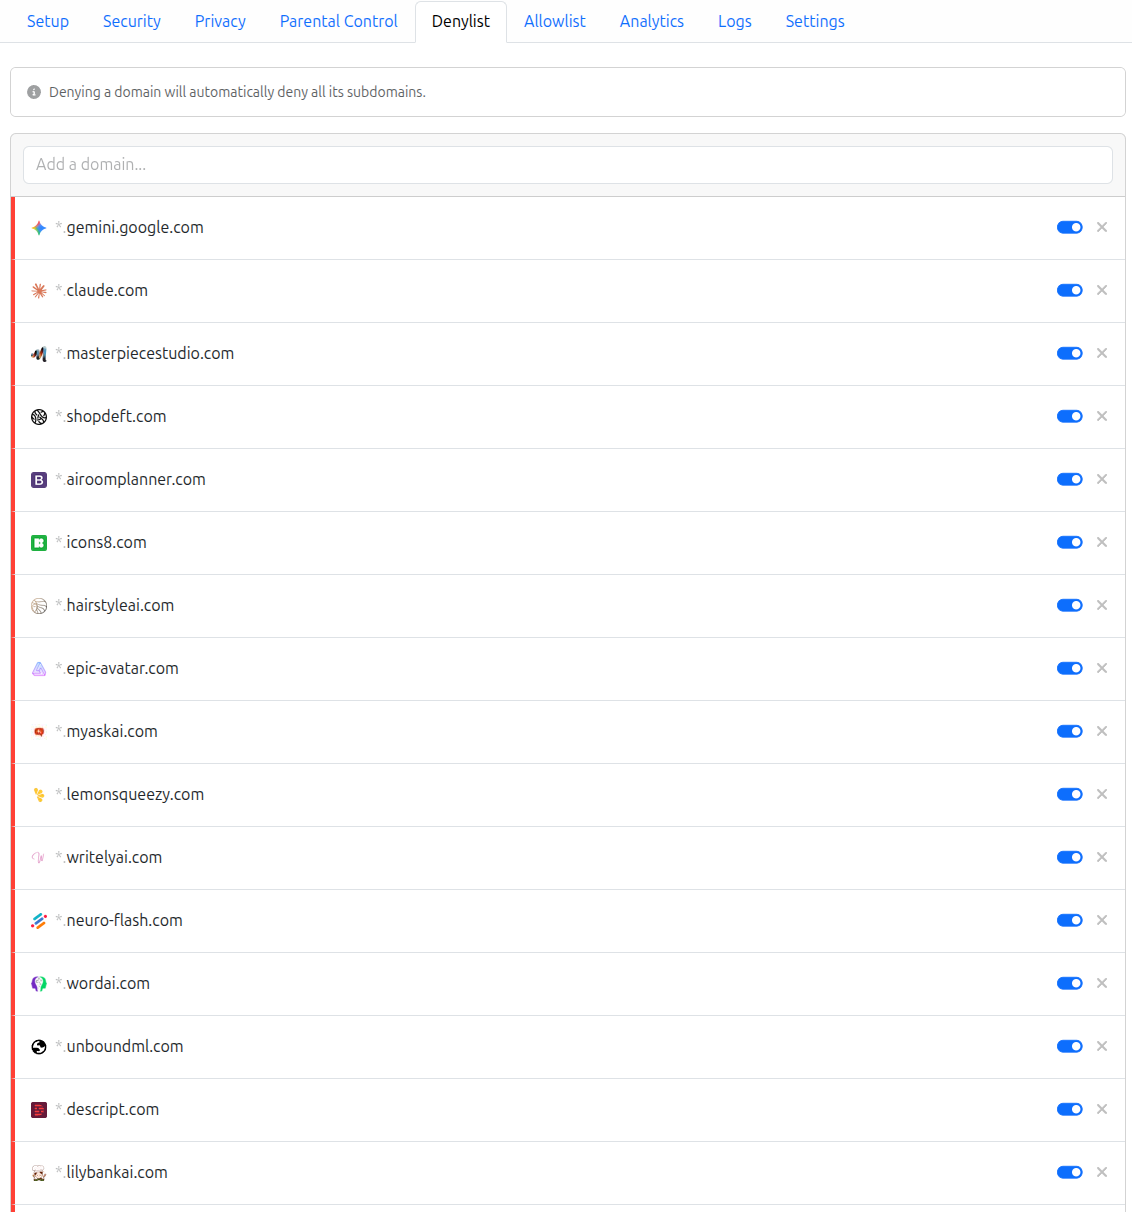
After a few minutes, all domains from the AI blocklist should have been loaded onto NextDNS and automatically blocked.
Step #5: Test
Always test the setup before setting your child loose on the Internet! Log into their profile, check that the time limits are enforced. Open a browser and check that visiting undesirable websites is indeed blocked. Especially the AI blocklist is just a months-old list, not actively being maintained. You may have to add a few things missing from there. (if you find a better source of AI domains for a blocklist, please use the comments to tell me!)
Going forward, I intend to periodically check the “Logs” tab in NextDNS to see whether any questionable websites are slipping through the net (so I can then add them to the Denylist).
Step #6: PROFIT
The software is all FLOSS, so there’s no money involved. Thank you, countless developers and enthusiasts who so generously gift us such wonderful software.
NextDNS are kind enough to offer 300,000 free DNS queries per month. For a single child, that’s likely to be enough, therefore the “free” tier will cover you.
But - if you run out of free queries (which would indicate your child is spending a significant time online, make sure you’re aware of where all that time is going), or if you just want to support NextDNS, you can subscribe for £18/year, or £1.80/month.
I hope this helps someone move away from BigTech, create good digital habits for their kids and give them a safe working environment.